|
I have done my fair share of uppercase and lowercase letter matches with both my children and students. The paper and pencil method of drawing a line from the uppercase letter to the correct lowercase letter, writing the matching letter, to coloring the matching letter. How many ways have you introduced letter matching to your little ones and both of you showed zero interest after a few times? I am sure you would like something new and engaging for your children. After all, learning should always be fun to lock in the learner's attention from beginning to end, right? I have just the thing for you. A DIY uppercase and lowercase letter match with 10 ways to use it. That’s right, 10 ways for preschool through kindergarten! That’s a win for everyone. You’ve probably seen this DIY before, but I went ahead and modified it in such a way that you get 10 interactive ways to use it. 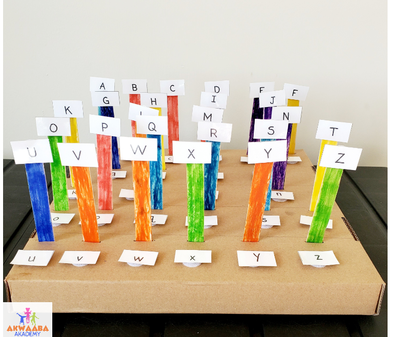 You’ll need to give yourself at least 30 minutes of prep time, but I promise you, this will keep children engaged with continued use of this activity. Materials:
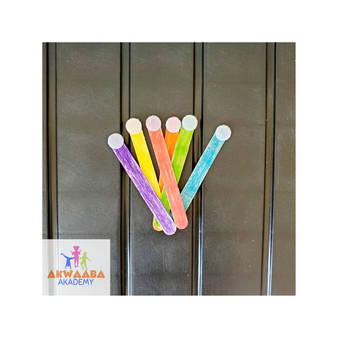
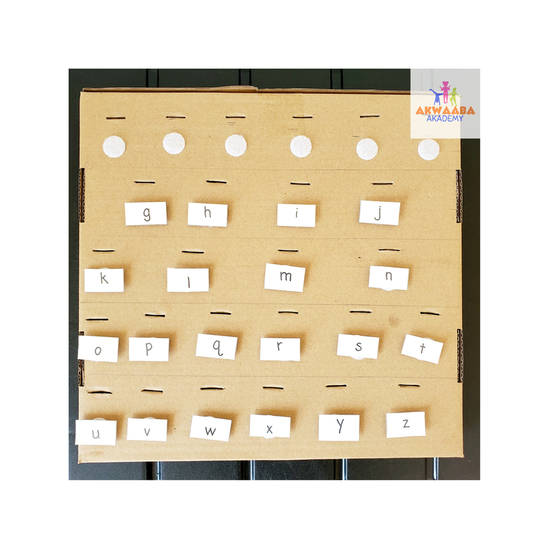
You will need a box that can accommodate a few rows for 26 craft sticks. I would highly recommend lightly tracing lines on the box to see if you will have enough space. Once your markings look fine, begin to cut your slots. 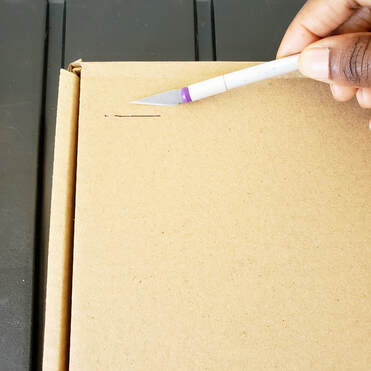 The plain sticks are suitable, but I like the pop of colors. You can purchase colored sticks, but if you’d like to have the kids involved, purchase plain sticks and let them color the sticks like I did. I even did some coloring myself. 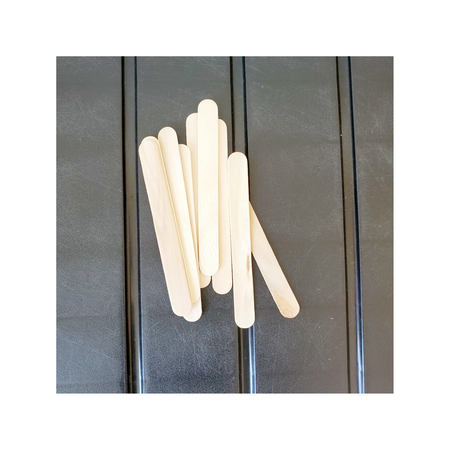 After coloring the sticks, you will need to write each letter of the alphabet on a piece of paper, preferably cardstock, but use what you have. If you want to be a little fancy like me, typing is always an option. Then laminate the sheet and cut small squares of each letter. 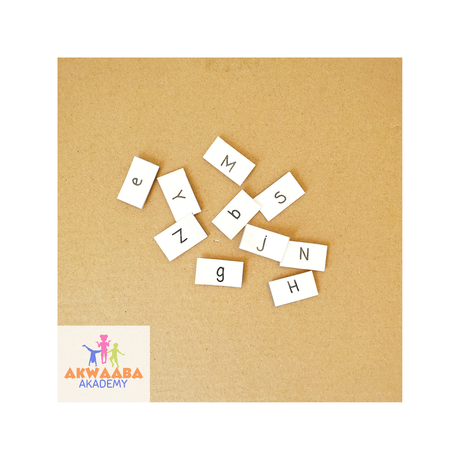 Print pictures that correspond to each letter’s beginning sound. You can always cut pictures from an old magazine or a grocery store ad.  Here’s where it gets fancy…velcro! Velcro is your best friend! Put velcro on all the sticks and then velcro under each slot on the box. Be sure to pay attention to which velcro piece you are using, otherwise when it is time to use, some pieces won’t stick if it doesn’t have the correct back. I chose to use the soft side on the sticks and box. And the rough side was used on the letters and pictures.
Congratulations! You have successfully completed your DIY. Proceed to the learning phase.
I know that seems like a lot, but with 10 different ways to use your new DIY, you won't have to search Google for ideas, and your child will be engaged, learning AND targeting fine motor skills, too. In the beginning, you can work along side with your child to model and support, but after a few rounds of play, she/he can work independently. Disclosure: Some of the links are affiliate links, meaning, at no additional cost to you, I will earn a commission if you click through and make a purchase.
1 Comment
|
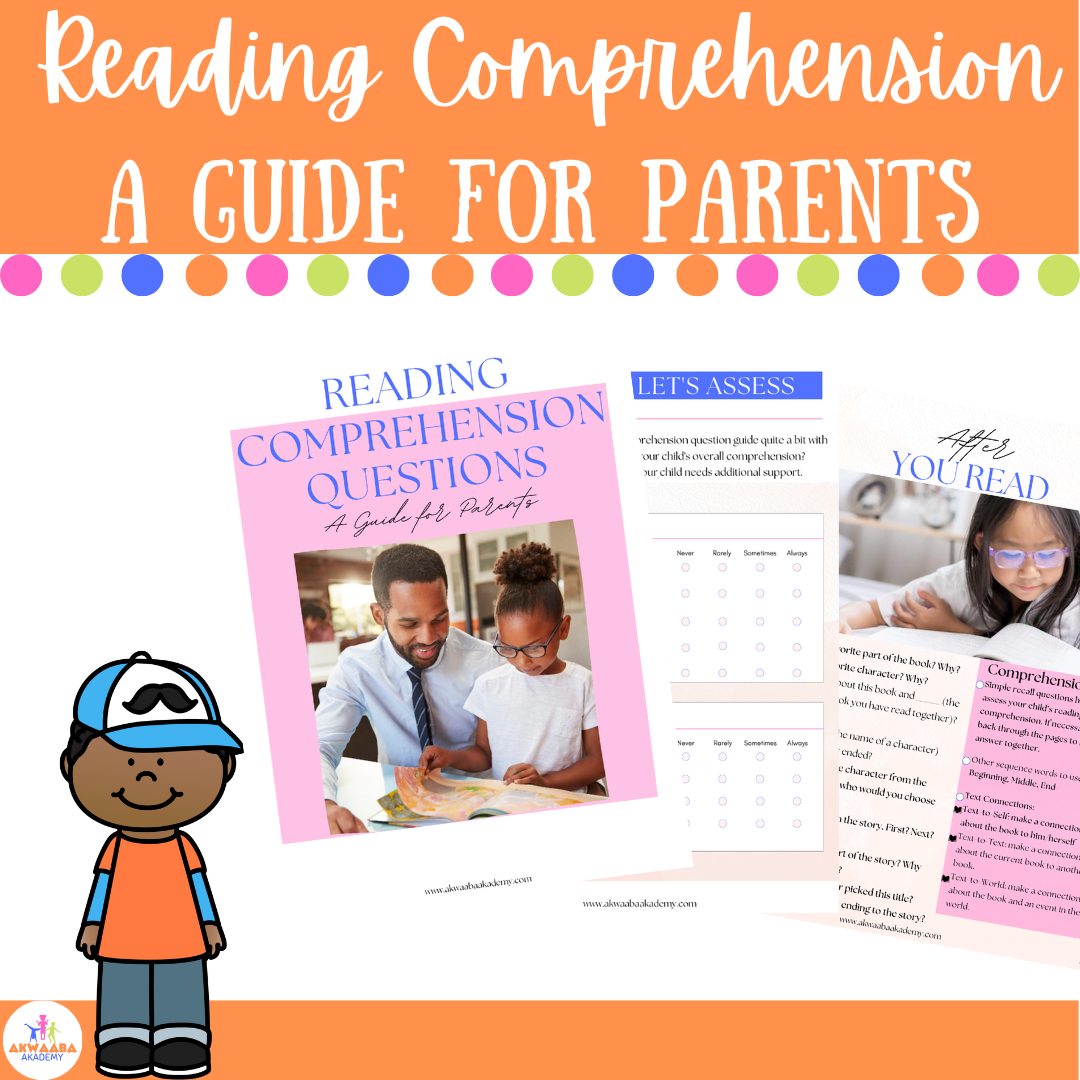
Akwaaba!Hi, I am Odessa. I'm a mom of two wonderful children and a teacher. I have a Bachelor of Arts in Early Childhood Education and a Master of Science in Childhood Education with over 10 years of PreK and Kindergarten experience. I am a lover of all things literacy for children and their curiosity of the world. Get comfy and click around my site. I hope you find something you'll like, and something your kids will love! P.S. Akwaaba means 'welcome' :) Subscribe to get our latest content by email and a FREE reading comprehension guide that supports you BEFORE, DURING, and AFTER you read a book. It also includes an assessment checklist.
Archives
July 2023
Categories |
 RSS Feed
Proudly powered by Weebly