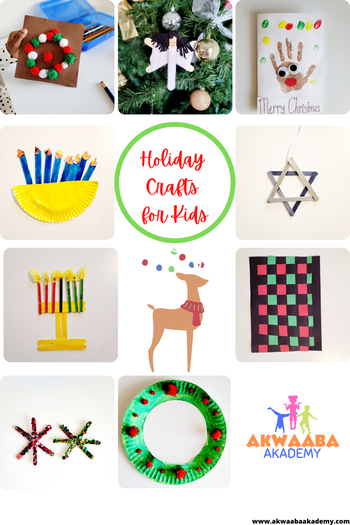
 Could you believe it’s already December? I still can't believe it, but since December is here, we might as well make it a fun and cheerful one for the kiddos with these holiday arts and crafts that I have rounded up my children to create. You'll find crafts for Chanukah, Christmas, and Kwanzaa. Chanukah Menorah 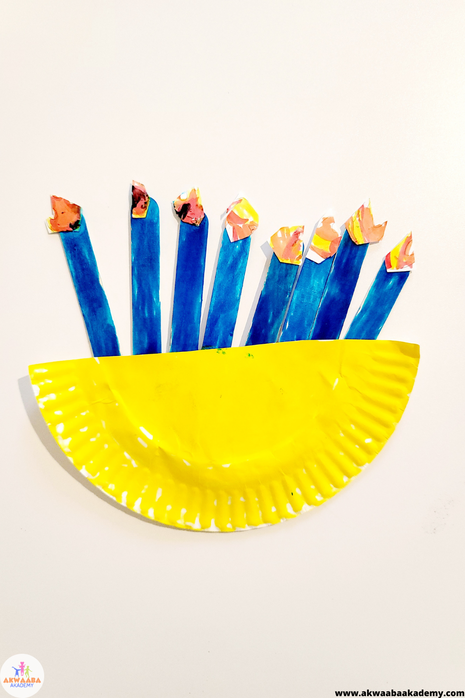 Materials:
Step 1: Color the craft sticks blue. These will be the candles. Step 2: Cut the paper plate in half and color yellow. Step 3: Make the flames. You can use white paper to color yellow, red, and orange. Or you can use tissue paper to create your flames. Glue flames onto the craft stick candles. Step 4: Glue the craft stick candles onto the back of the plate. Star of David Materials:
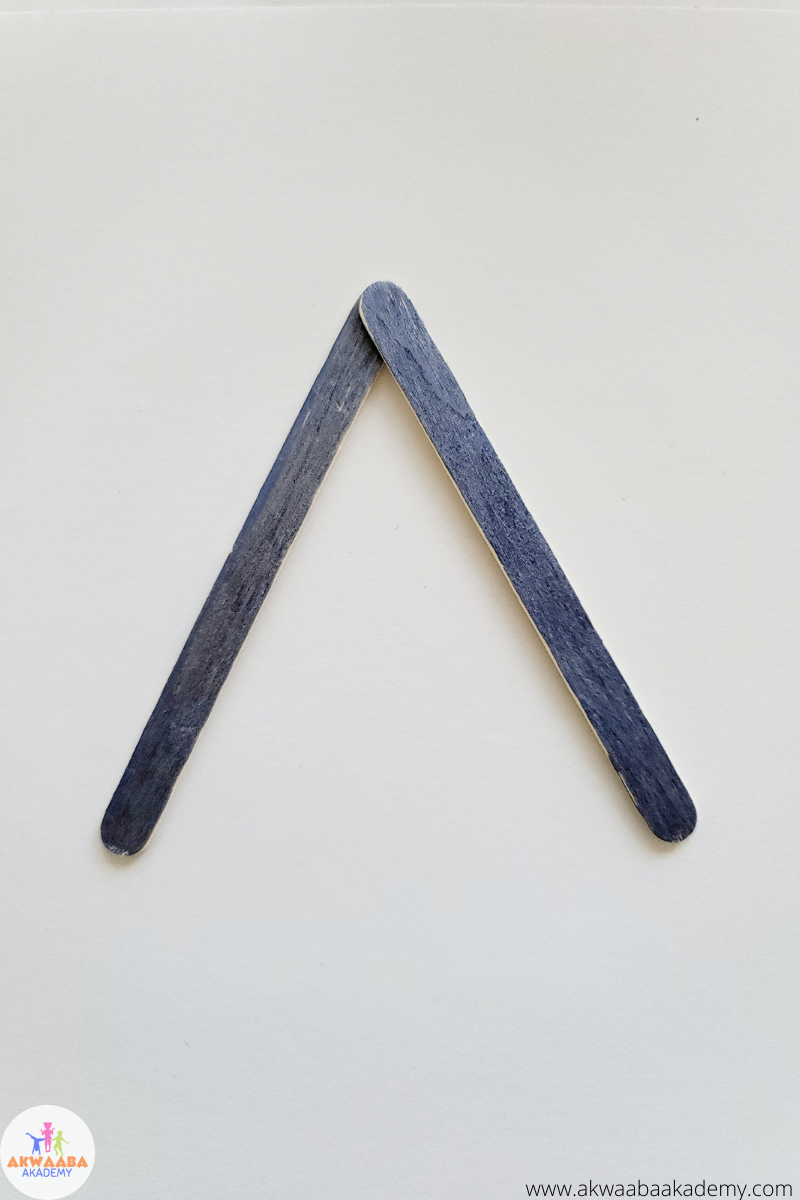
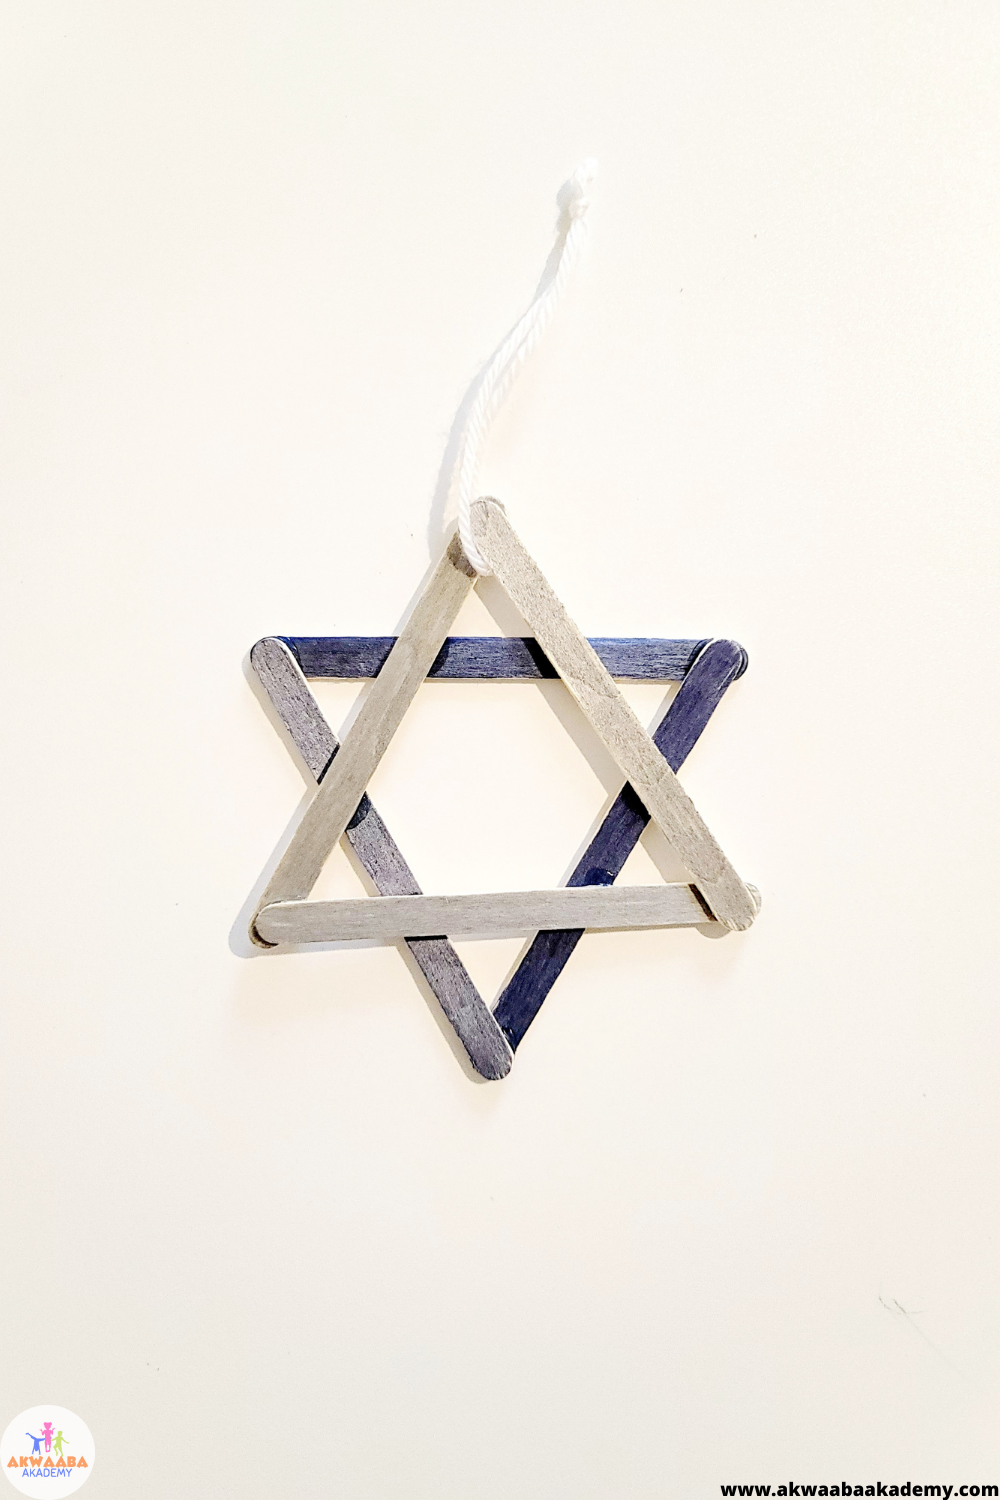
Step 1: Color 3 craft sticks silver (or you can paint white) Step 2: Color 3 craft sticks blue (or you can paint blue) Step 3: Glue the silver sticks into the shape of a triangle. Then, repeat for blue sticks. Allow to dry that way it doesn't come apart as you glue both triangles together. If you use a hot glue gun, then you will not have a long wait time. Just a few seconds. Step 4: Once the glue is dried, glue one triangle on top the other. Add a string to hang.
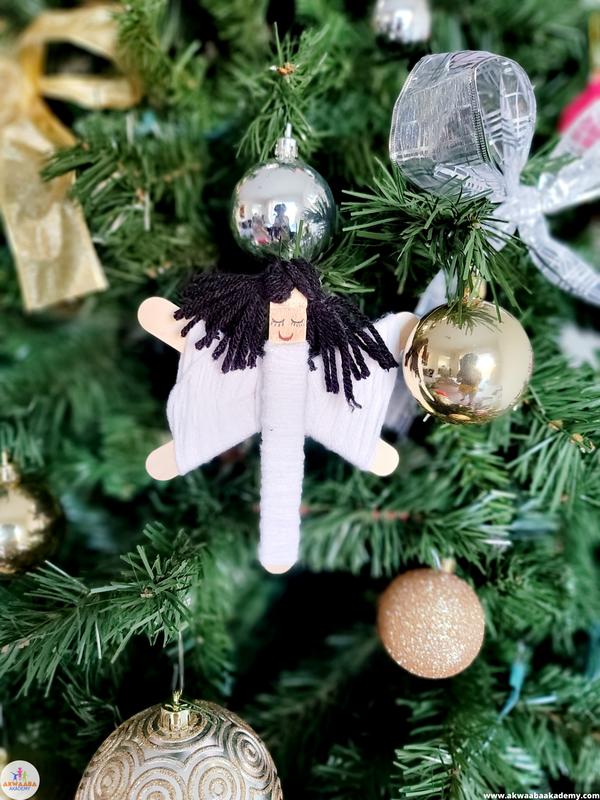
Angel Yarn Ornament If you’re into ornaments for the tree, then this is the craft for you. And besides, it is always nice to dress the tree with a creation from the little ones. Materials:
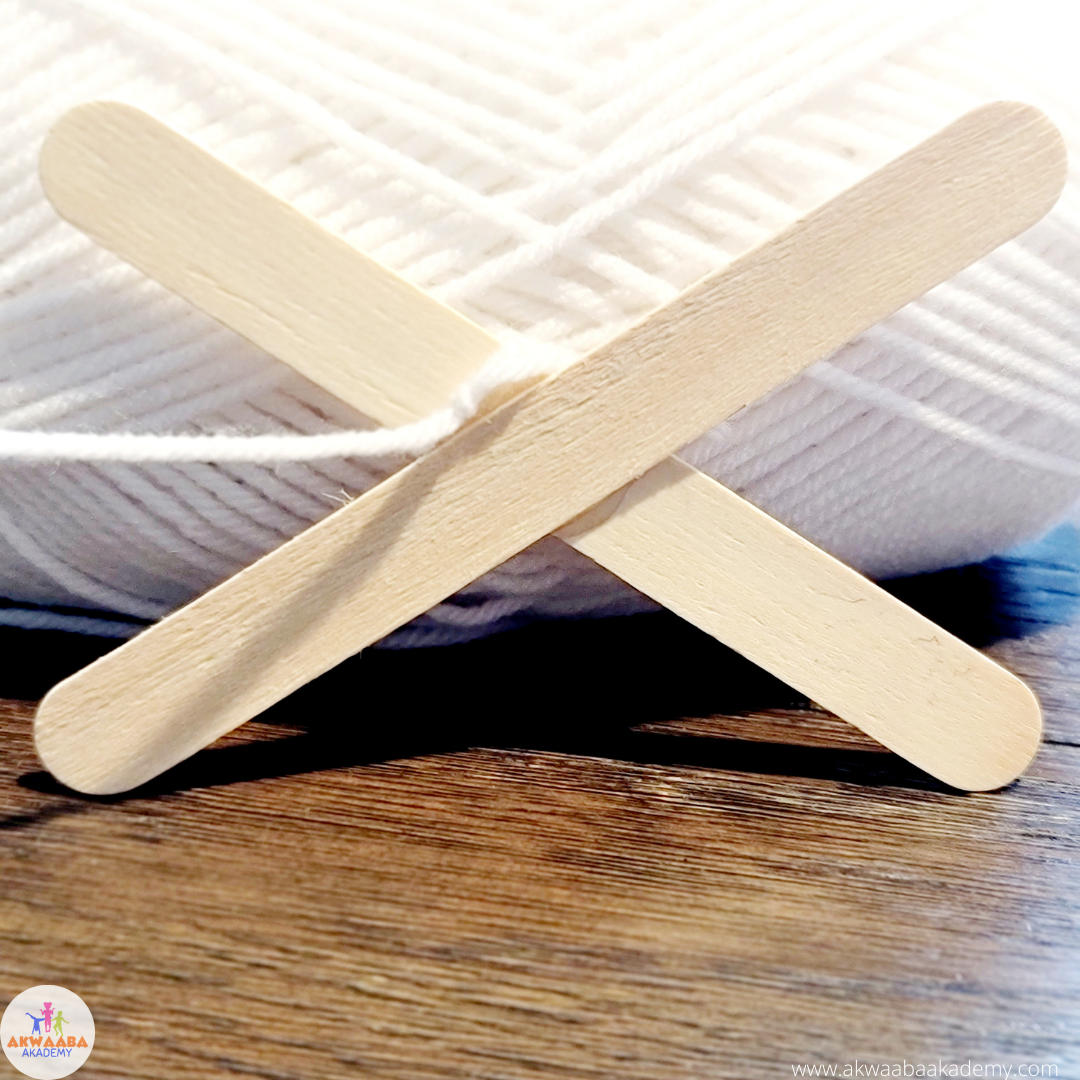
Step 1: Glue two sticks to make an X. Let glue fully dry. Step 2: Use the white yarn to wrap around the X. Leave a small piece of the stick visible for the hands and feet (see video below) Step 3: Wrap white yarn around the last craft stick. Be sure to leave a small piece of the stick visible at the top for the angel’s face. Step 4: Add face details and a string for hanging. You can also use an ornament hook to hang the angel to your Christmas tree. Sparkly Snowflake: Materials:
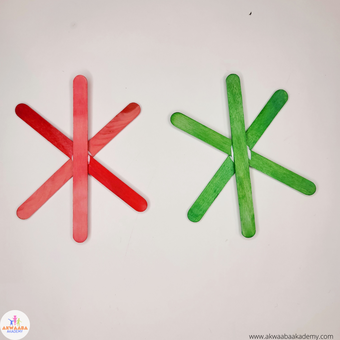
Step 1: Glue two sticks into an X. Then glue the third stick down the center to form a snowflake. Allow glue to dry. Step 2: Add glue to all points of the snowflakes. Step 3: Place the snowflake onto a paper plate or a sheet of paper and add jewels to cover the glue. By having something under the snowflake when you add the sequins, it makes for an easier clean up. Allow to fully dry. Step 4: Add a string or ornament hook to hang it on your tree.
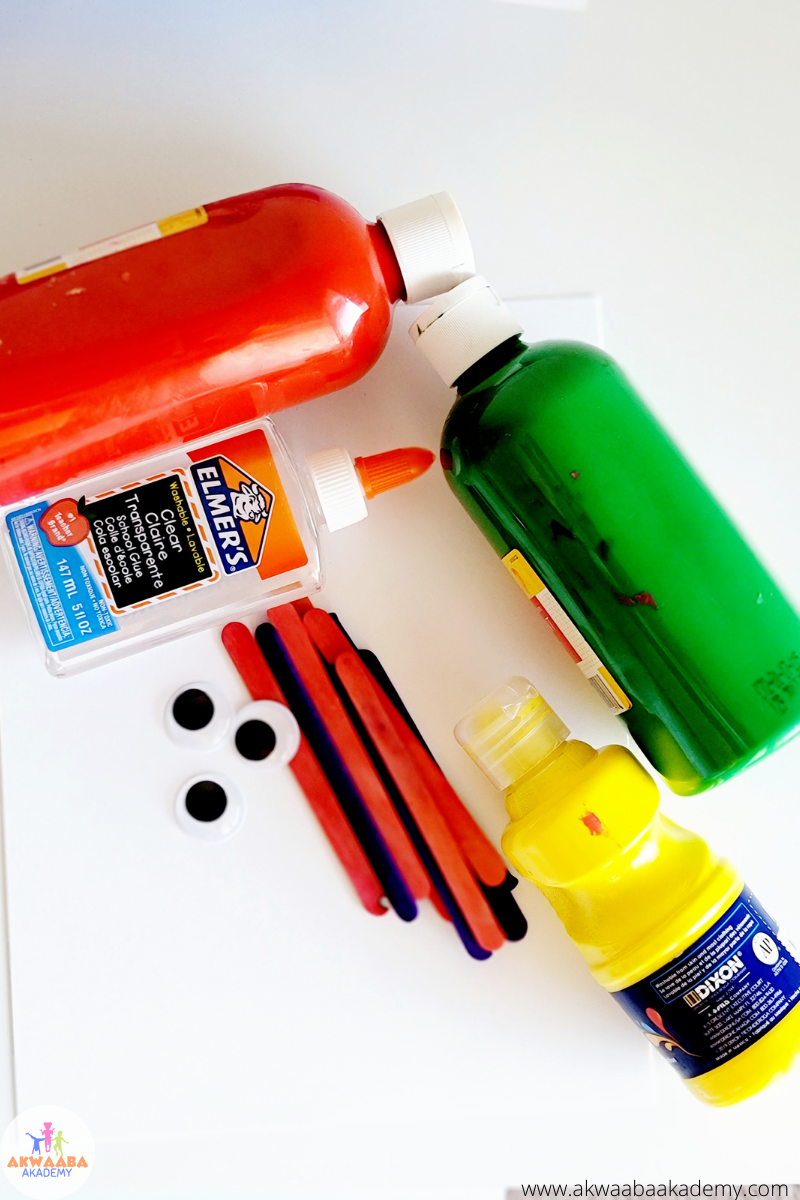
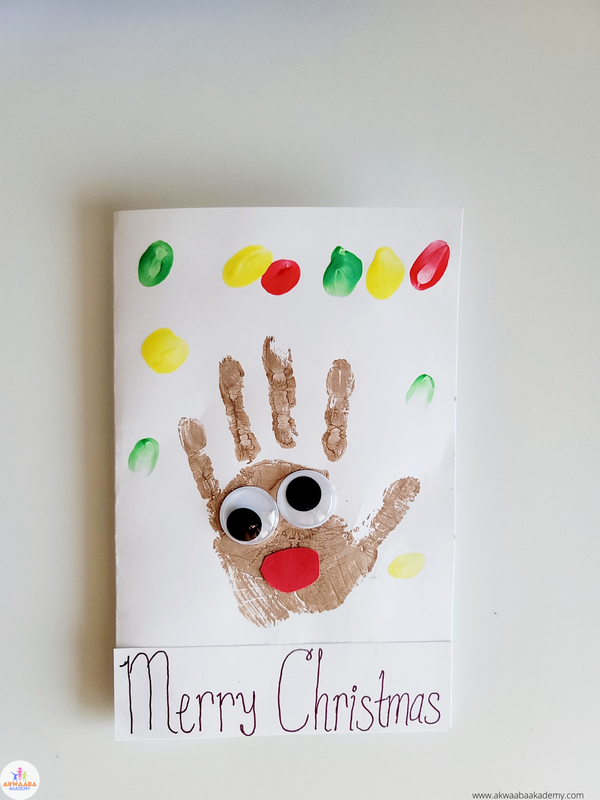 Step 1: Fold the paper in half. Step 2: Allow the child to press their hand into the brown paint and then gently press down onto the white card. Step 3: Clean hands and have your child dip one finger at a time into each of the remaining colors and gently press down creating spots on the card. Allow to dry. Step 4: After paint is fully dried, add eyes and a nose. Step 5: You or your child can write a greeting on the front of the card. The little one can decorate inside. 3-D Pom Pom Balls Card Materials
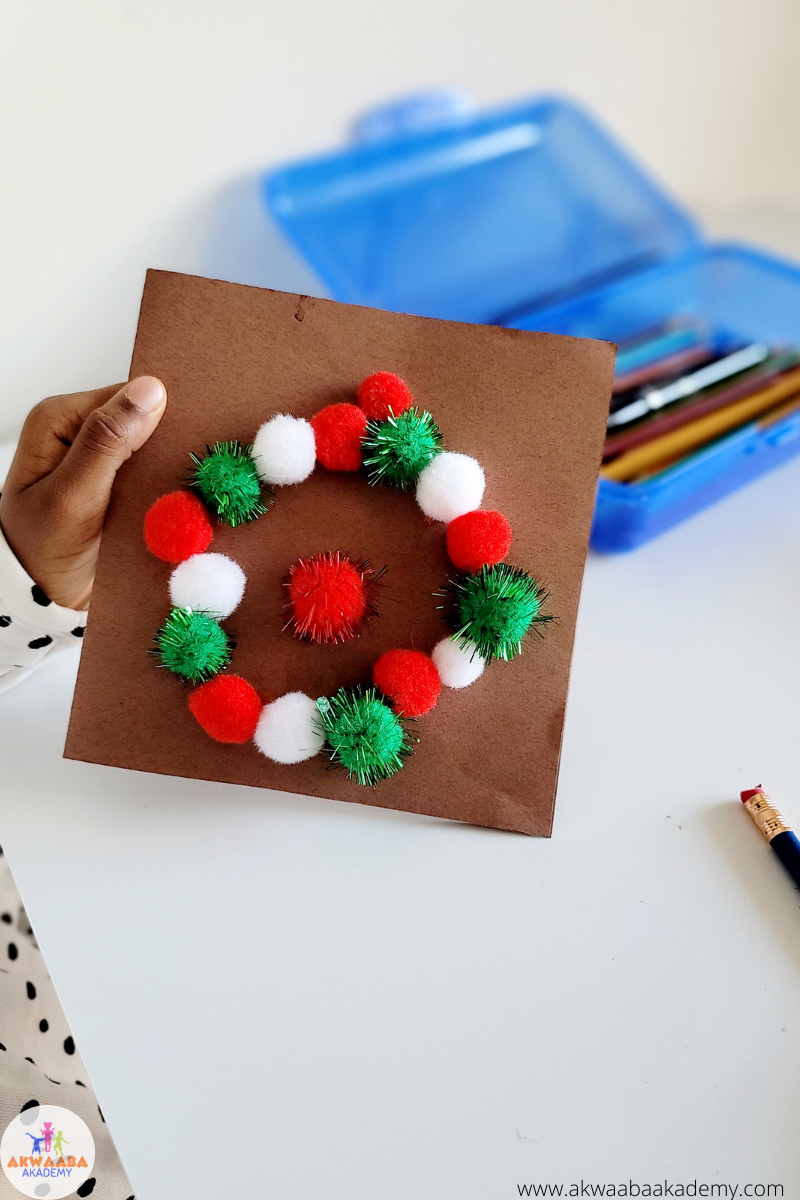
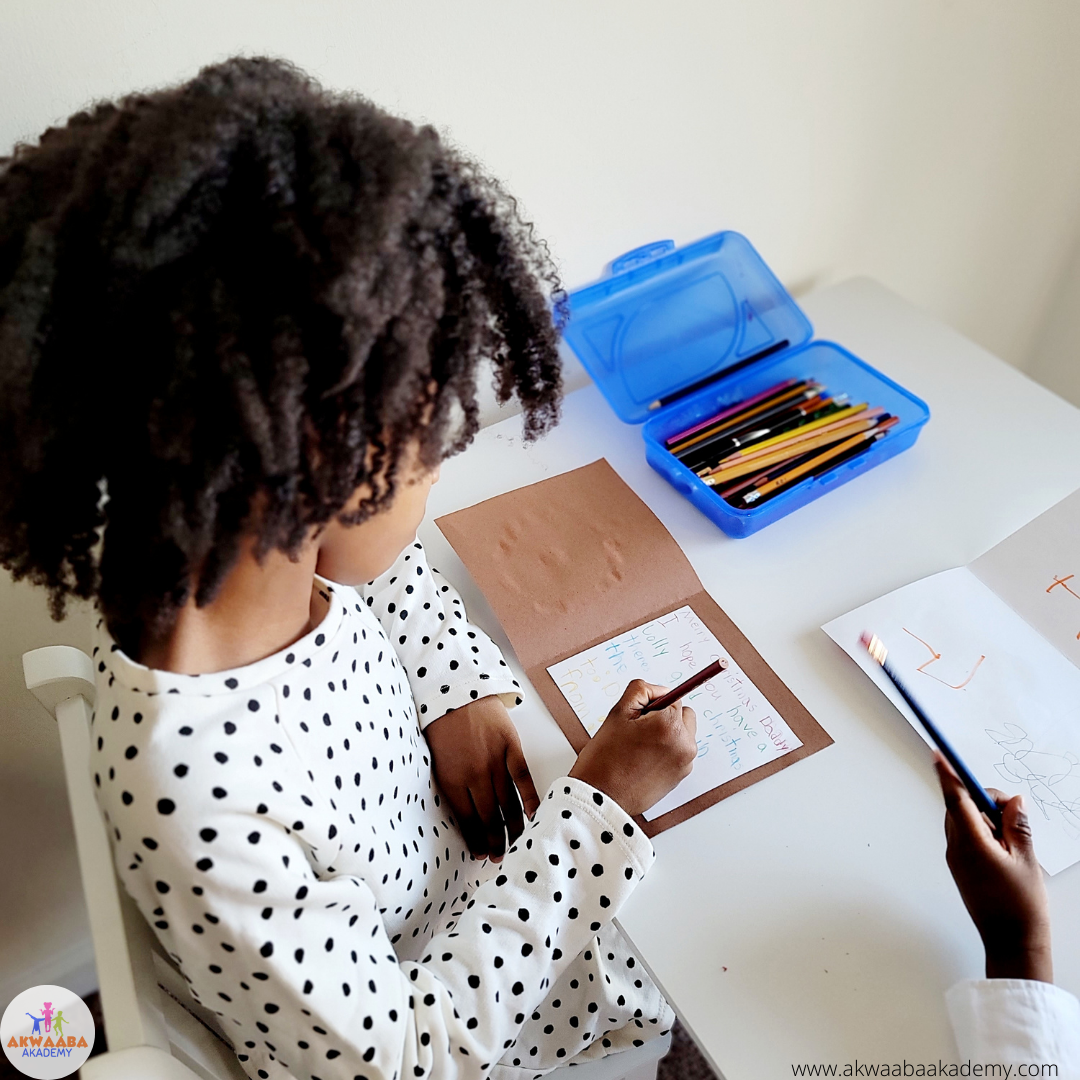
Step 1: Fold the brown paper in half. If you want it to be smaller, you cut the card to your liking. Step 2: Glue the pom pom balls in a circle. If you want the perfect circle, I would recommend using something with a circle in a size you’d like to trace. Then glue it on. Allow to dry. Step 3: Using the white cardstock, size it down a little smaller than the size of your card so it gives the border effect. Write a nice greeting and glue it inside the card with a glue stick. Paper Plate Wreath Materials:
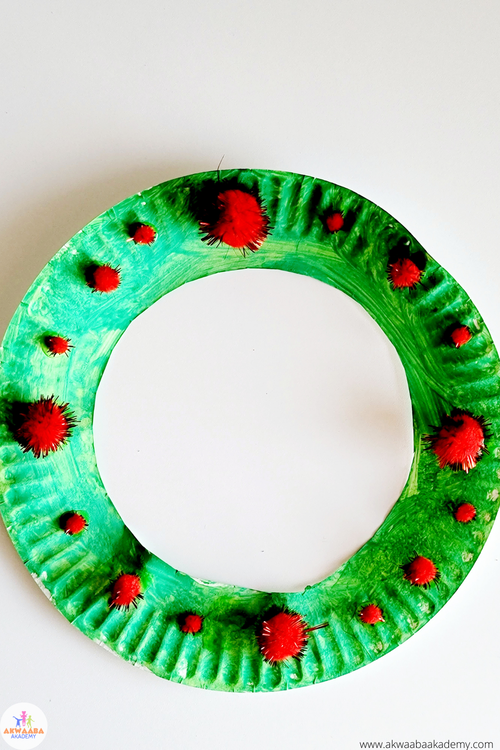 Step 1: Cut out the middle of the plate. Step 2: Paint green and allow to dry. Step 3: Use tacky glue or hot glue to stick the pom pom balls on. Step 4: Add a string and hang. Kwanzaa Kinara Materials:
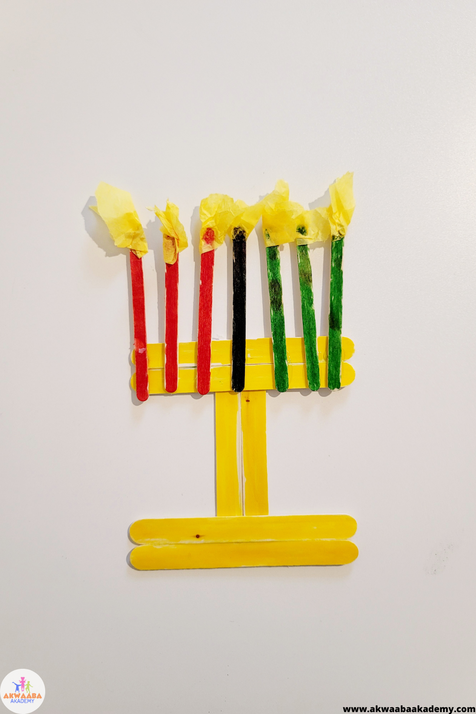 Step 1: Color 3 craft sticks red, 3 green, and 1 black. Step 2: Color the large craft sticks yellow. Step 3: Add tissue paper flames to each craft stick. Step 3: Glue large craft sticks together and allow to fully dry. Step 4: Assemble the large craft sticks which will be the base of the Kinara. 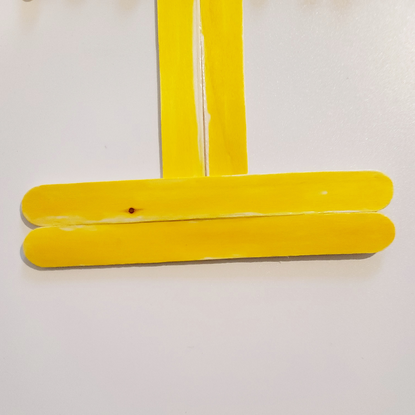 Step 5: Glue the 3 red craft stick candles on the left of the Kinara. Then, glue 1 black craft stick candle in the middle. Last, glue 3 green craft stick candles to the right Kwanzaa Mat Materials
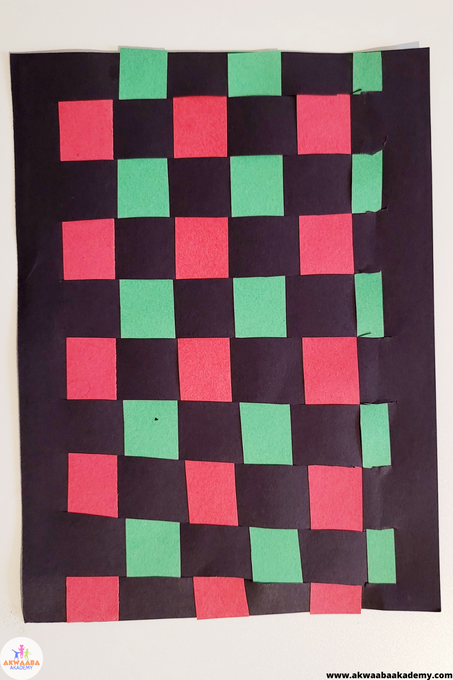 Step 1: Fold a small piece of the black paper to make a snip. Then, cut down to the other end. Repeat several times and make sure you leave an equal amount of space between each until you get to the end. 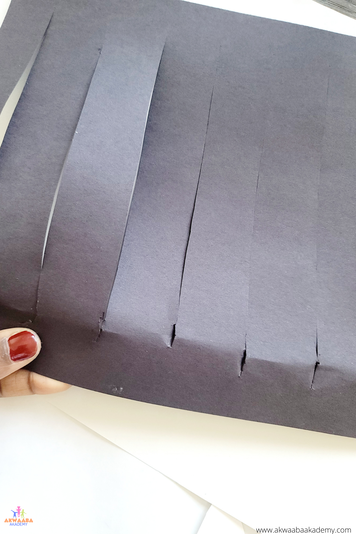 Step 2: Cut your red and green paper into strips. 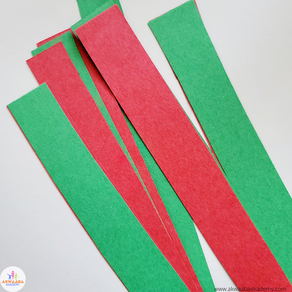 Step 3: Select one color and weave it into the black paper slits. Insert your strip over the first black slit, then repeat under, over, under until you reach the end. Repeat this step with the other color, but make sure to start this 'under' because you started the first strip 'over'. Repeat until there is no space left for more strips. 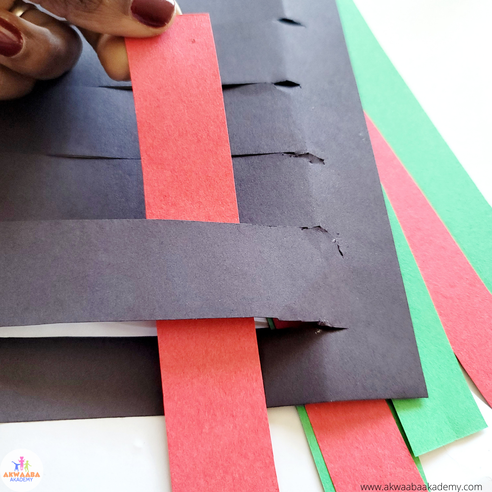 Step 4: Use a glue stick to secure the end of all the strips. 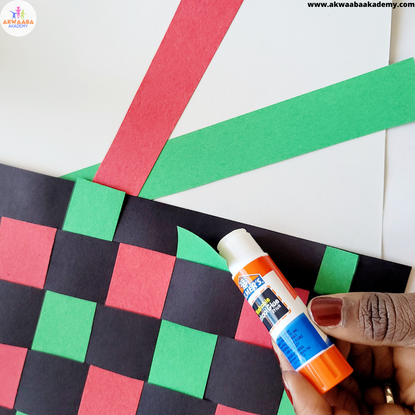 Step 5: Laminate and use as a place mat. Disclosure: Some of the links are affiliate links, meaning, at no additional cost to you, I will earn a commission if you click through and make a purchase.
0 Comments
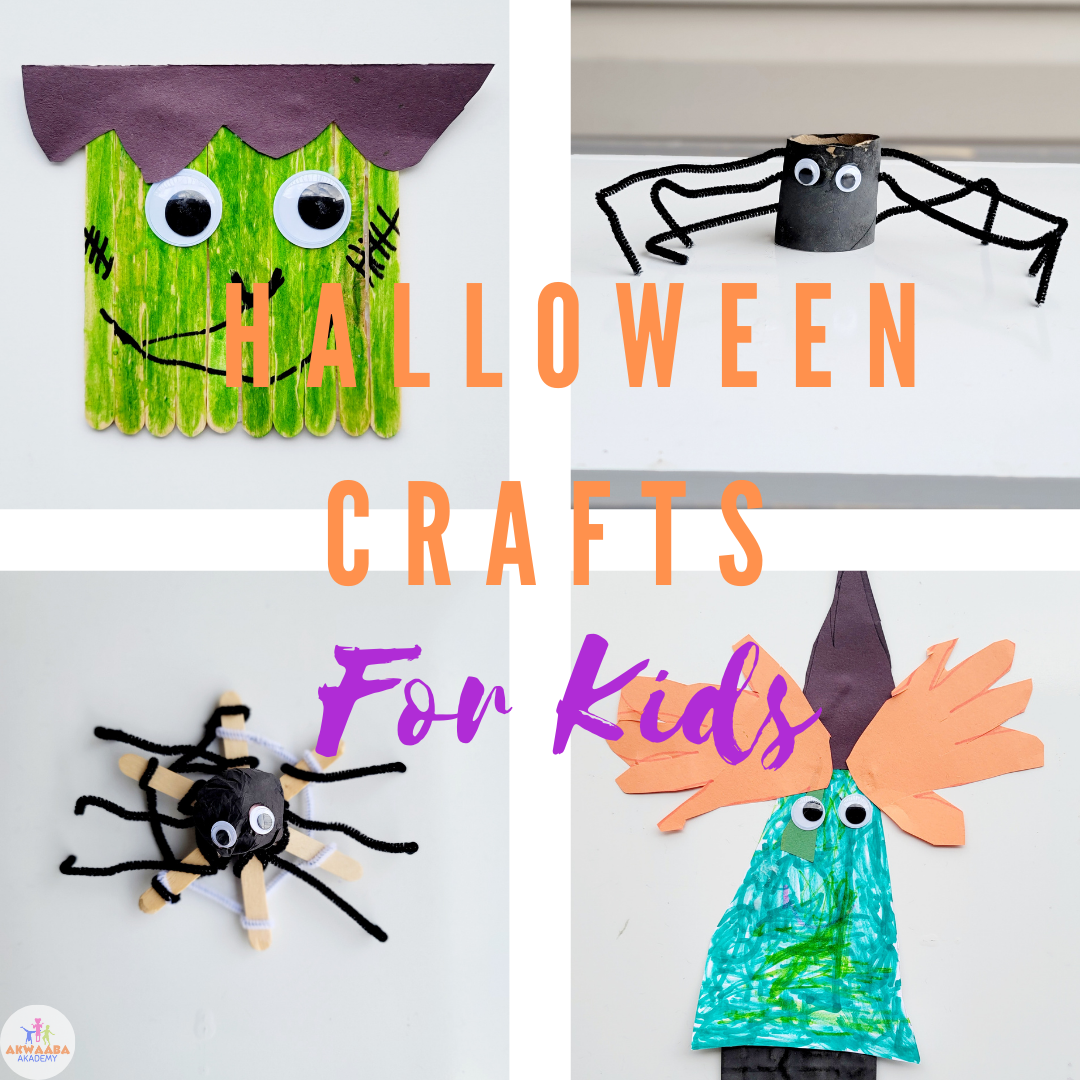 Halloween is very different this year whether you celebrate or not. Coronavirus is still lingering and I know children are looking forward to the festivities, but we must remain safe. My kids asked if they could decorate our home for Halloween, so why not? They will be safe at home. We will decorate the house and they will have a candy scavenger hunt instead of going out. Kids dressing up is optional. Here are some crafts children can create to add to your store bought decorations: * I recommend letting the kids do as much as they possible can. Children take pride in their work especially when they complete it with minimal adult help. Craft Stick Haunted House Materials:
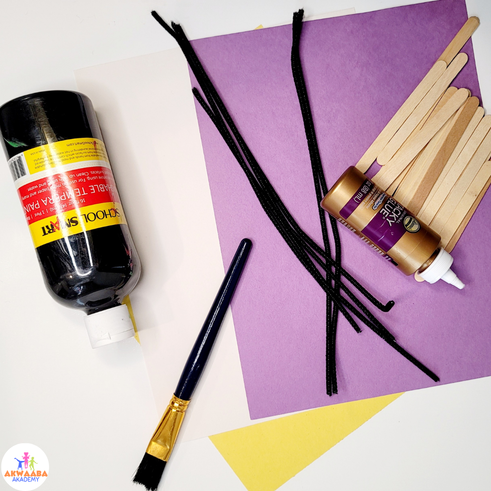 Step 1: Glue 10 craft sticks together using tacky glue. Take the last three sticks and glue them on the top to for a triangle. 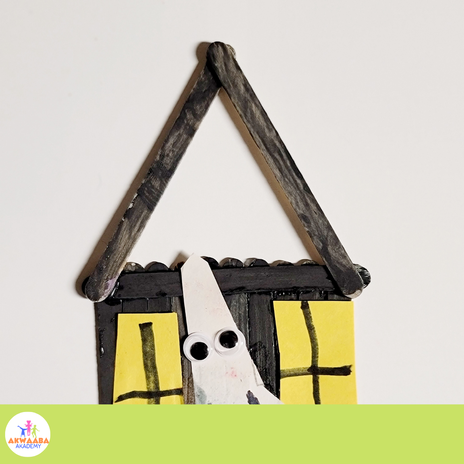 Step 2: After glue has dried, then paint. If you want, you can gently paint after gluing sticks together so everything dries together. Step 3: While sticks are drying, use yellow paper to make windows. Purple paper for the rooftop and white for the ghost. Step 4: After everything is dried, add the roof, windows, and ghost. 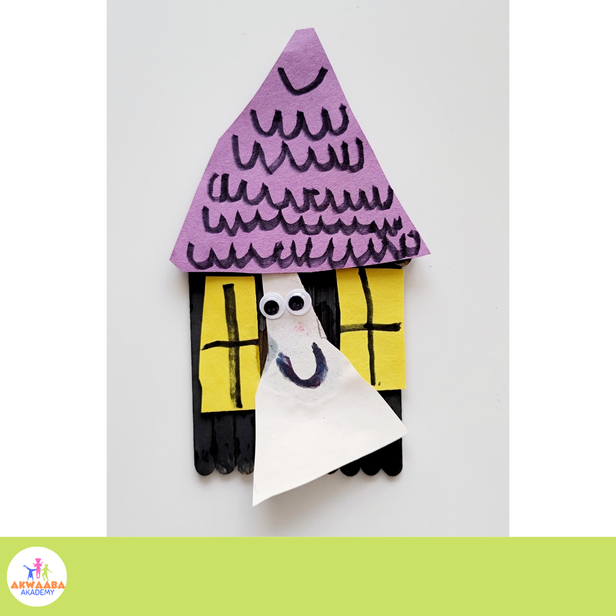 Toilet Paper Roll Spider: Materials:
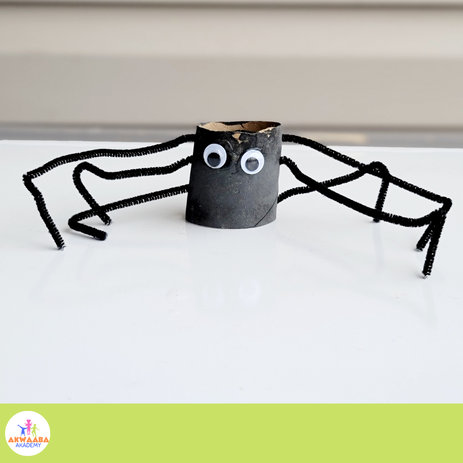 Step 1: Cut it low enough that your hole puncher will be able to punch 3 holes. Otherwise, you’ll only be able to punch two holes. Step 2: Paint and let dry. You can also provide crayons/markers for coloring. Step 3: Punch 3 holes on each side. Make sure the holes are aligned to make threading it with pipe cleaners easy. Step 4: Use glue to stick the eyes on. I really like tacky glue because it really gets the job done. Step 5: Let your child push the pipe cleaners through the holes for the legs. This is good for hand eye coordination. You can assist with folding the spider legs. Paper Bag Witch Materials:
Step 2: While the paint is drying, trace hands to make the hair. Use black paper for the hat. Step 3: Use green paper to cut out the face, or you can paint the face green. My daughter wanted to color hers. Give your children options and let them make a decision about their art. Step 4: Once the bag is dried, glue the face, hair, and hat on. Add googly eyes. 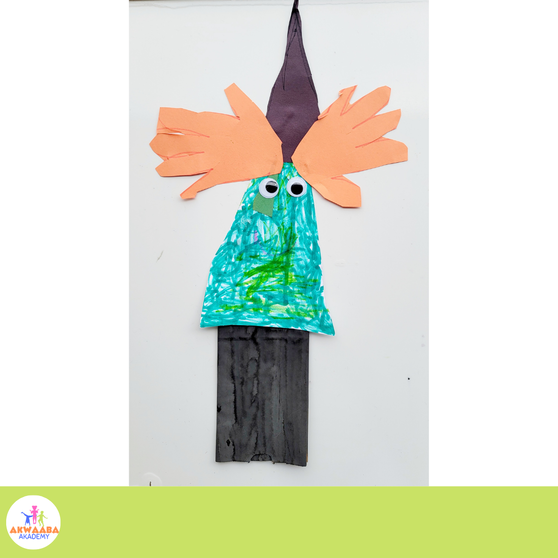 Frankenstein Craft Sticks Materials:
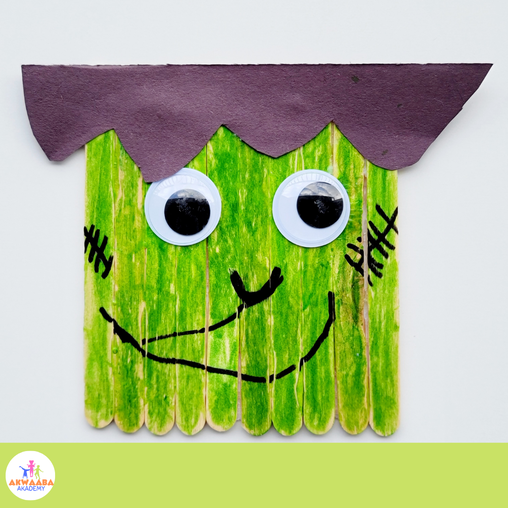 Step 1: Glue craft sticks with tacky glue and let it fully dry. Step 2: Color sticks green (or paint). If you opt for paint, you’ve got yourself another waiting game. *If you want, try to paint it after putting the glue that way everything dries together. Be gentle because the sticks can separate as you paint. Step 3: Have your child cut the hair. Assistance may be needed with this part. Step 4: Glue hair and eyes on. Step 5: Let your child draw a mouth and nose. Disclosure: Some of the links are affiliate links, meaning, at no additional cost to you, I will earn a commission if you click through and make a purchase.
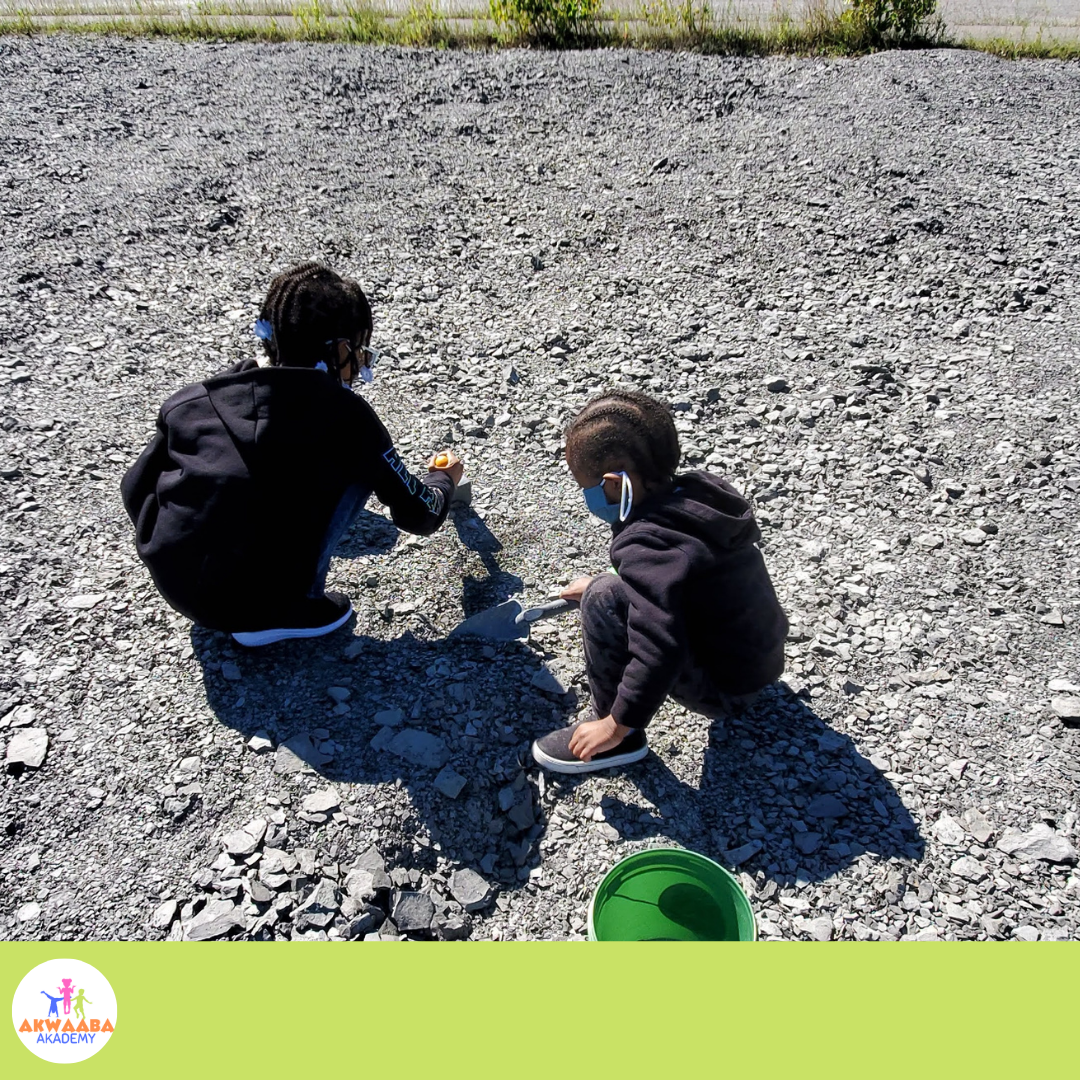
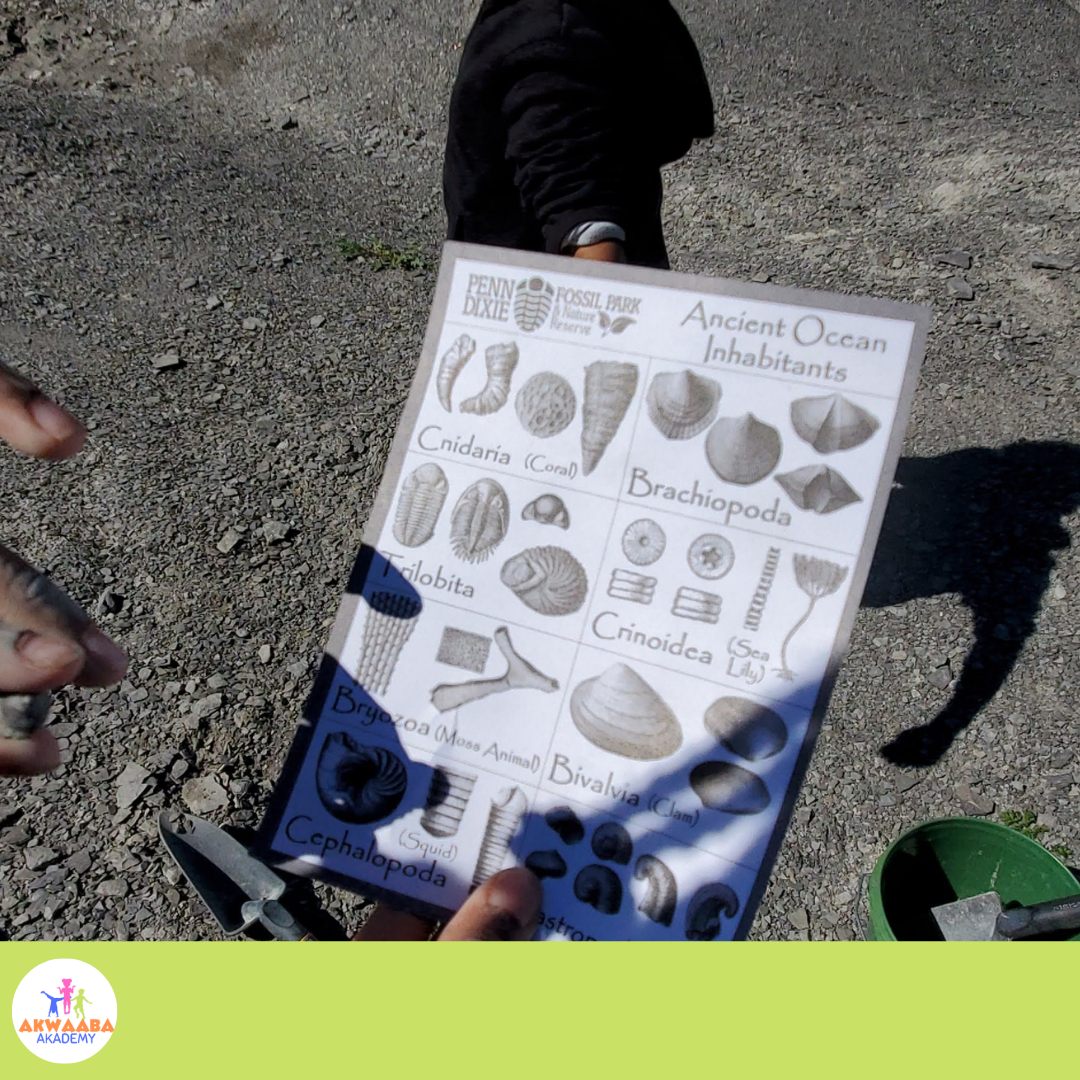
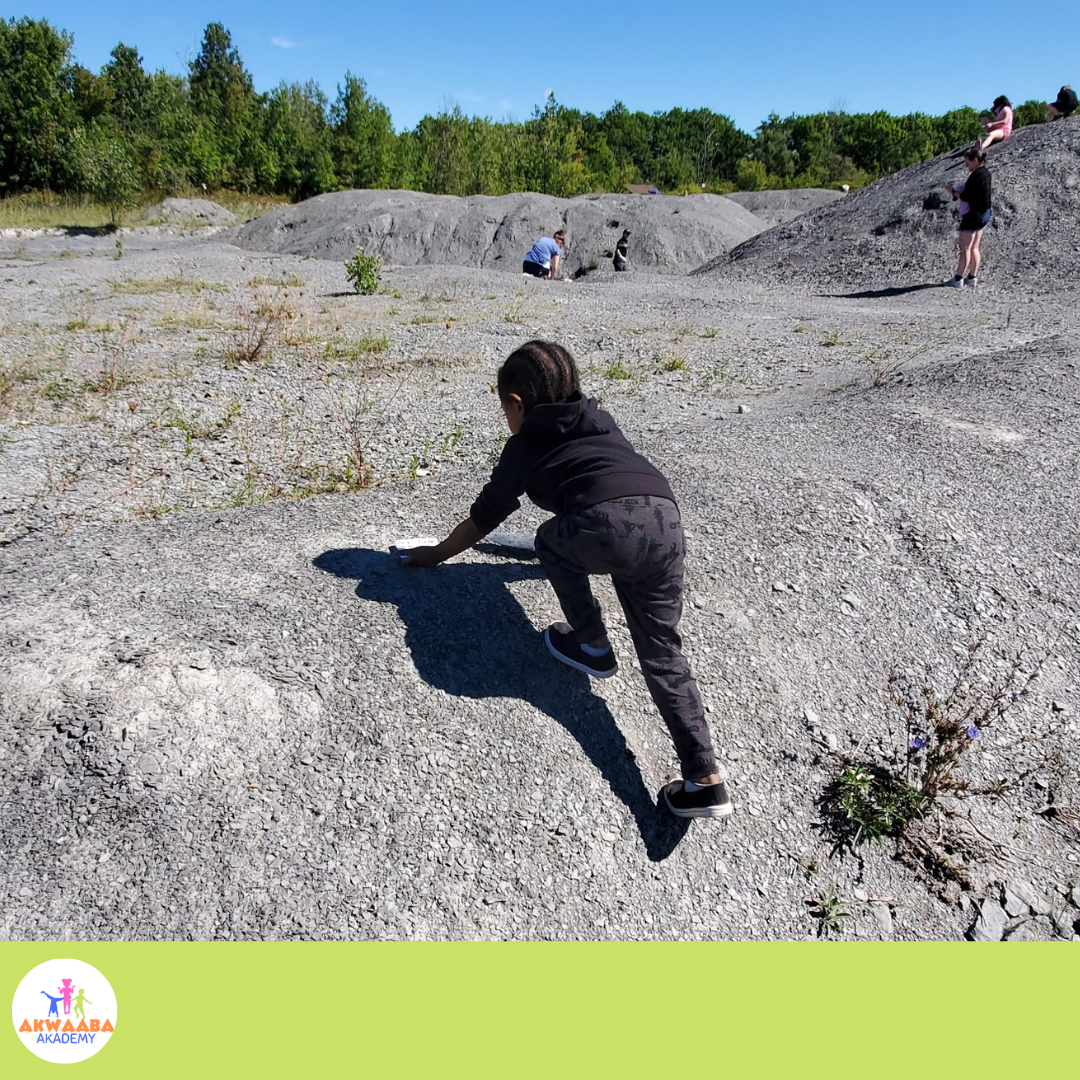
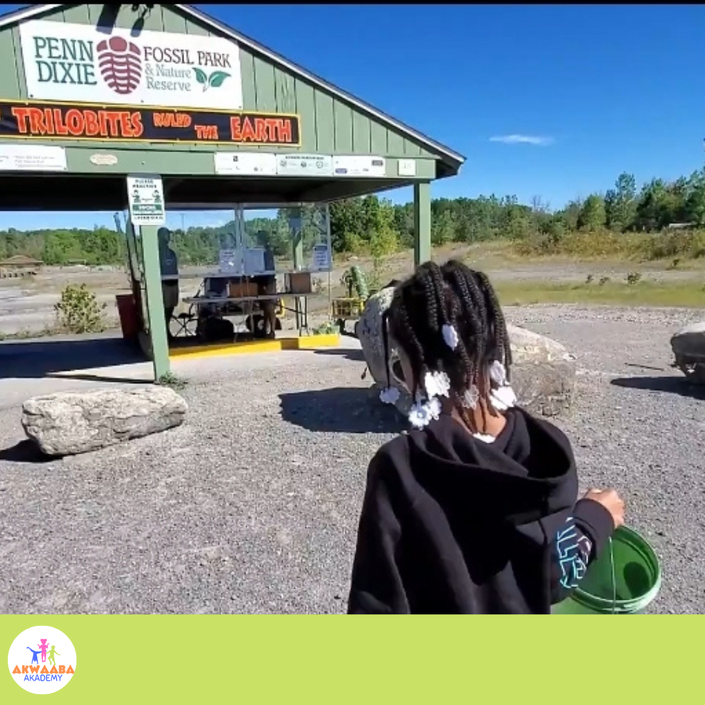 My family and I went upstate NY to the Buffalo and Niagara Falls region for a getaway before the hustle and bustle of a new school year started. My husband and I spent a few days researching activities for our getaway trip. There were many things we were interested in, but due to Covid-19, we had to call ahead to make sure businesses were open, and we tried to avoid indoor activities. One place that I absolutely had to visit was Penn Dixie Paleontological and Outdoor Education Center. I knew the kiddos would love it. 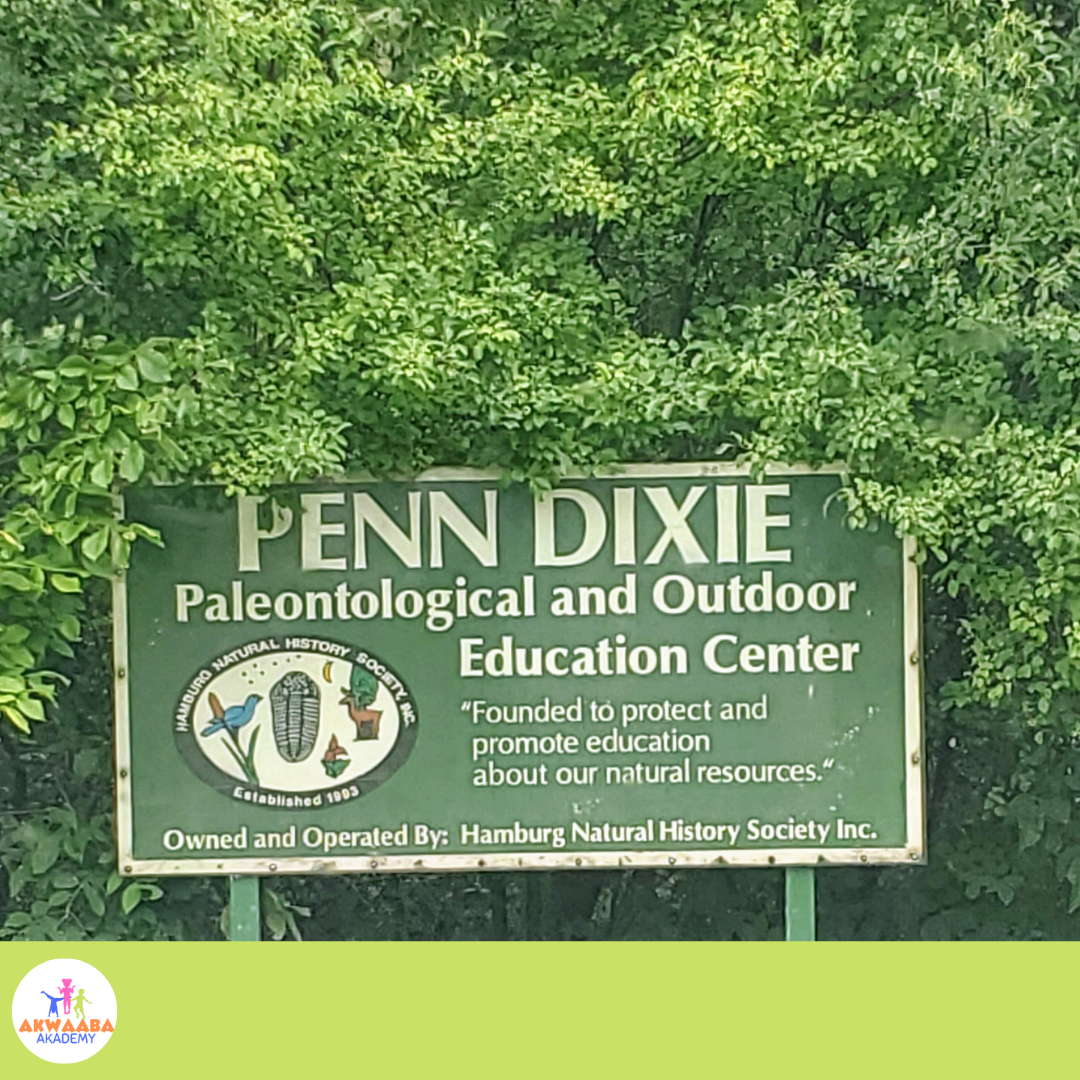 The day we chose to visit Penn Dixie was cloudy and by the time we arrived, it began to drizzle. We said we’d still go even with the light drizzle. Within a matter of minutes, the drizzle picked up and we decided to cancel. We were all disappointed, but we didn't see the fun in digging for fossils with the rain beating down on us. On the last day of the trip, we decided to return to Penn Dixie, and I am happy that we did. The weather was beautiful! And the place was big enough to allow people to spread out with their groups and dig.
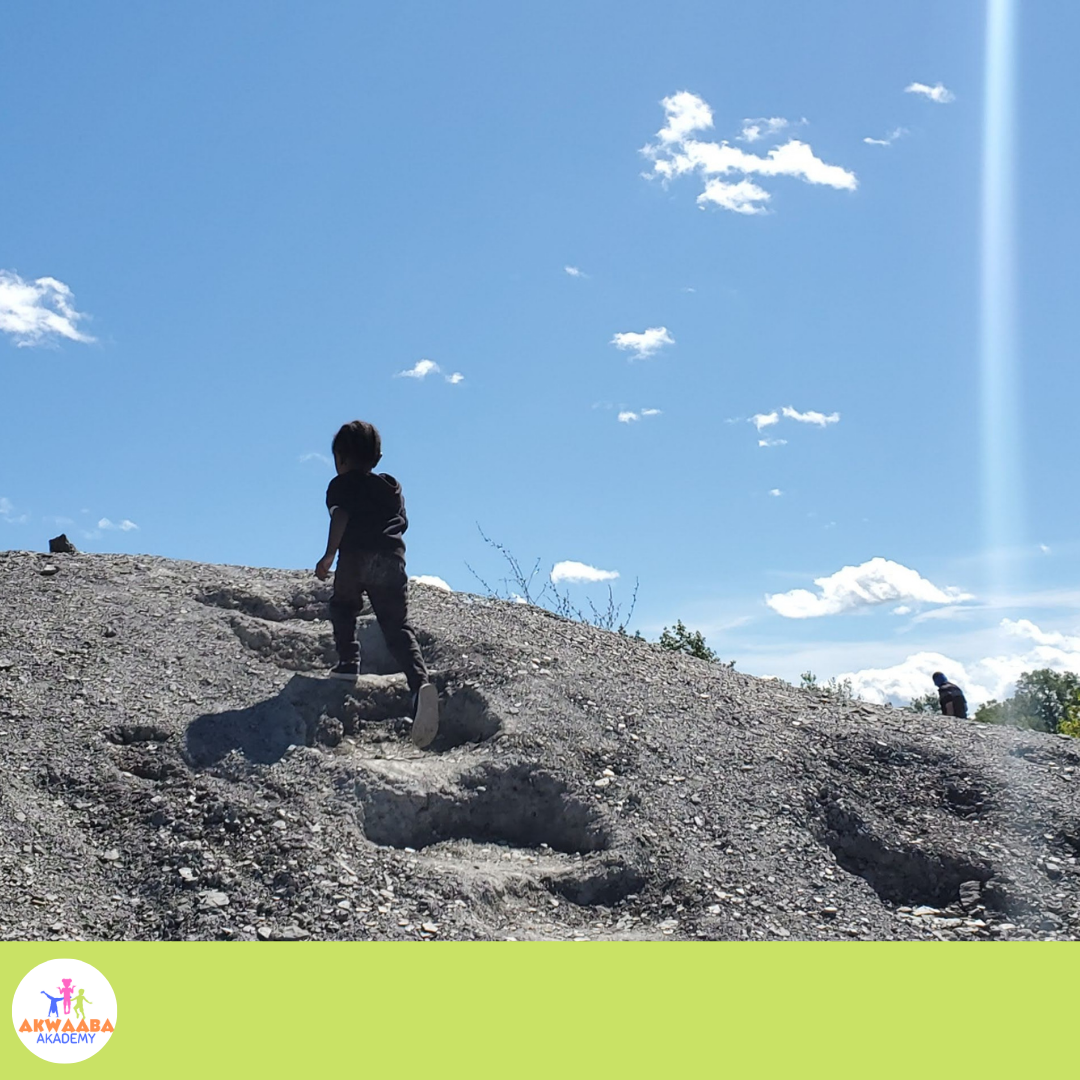
He also enjoyed running up and down the tiny hills and the few steps on one of the hills.
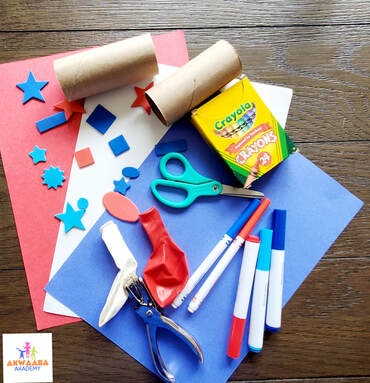
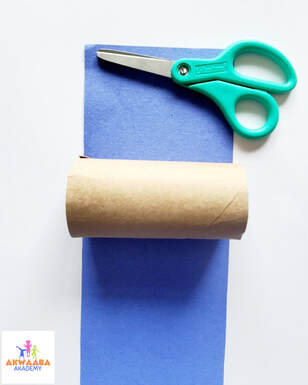
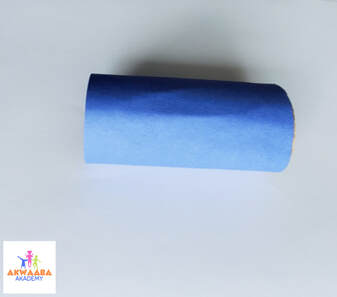
When we were done, the kids dumped their buckets of fossils and we headed back to the car. Bad idea! As we said our goodbyes to the staff, they asked about the fossils we found and I explained that we dumped everything. Then they told us that we were actually allowed to keep the fossils. They said we could go back to get the fossils but I didn’t want to walk back. Several staff members came to our car asking about our specific location so they can go find the fossils the kids dumped. They were really disappointed that the kids were leaving without their fossils so they gave them two complementary packs of fossils. While I know the children had a great time and were okay with not having the fossils they found, I really appreciated the multiple efforts made by the staff to find the kids' fossils and providing them with two free packs. That was my highlight of the visit besides the kids having a blast. If you're ever in the Buffalo and Niagara Falls region, definitely check out Penn Dixie with your little ones. The drive is about 30-45 minutes depending on traffic.  Independence Day is quickly approaching, I am seeing fireworks frequently at night. The fireworks look beautiful against the dark sky and my children get very excited to watch a free show from our balcony. Then, they ask the dreadful question: Mommy, can we get firecrackers?". In my head, I am screaming, “Absolutely not! You might lose a finger.” As a parent, I am sure you would never want to put your children in danger for the sake of having a little fun. I told them firecrackers were off limits, but there is a fun and safe way to create the look of fireworks bursting into the air without actually using firecrackers. They were intrigued… Gather your materials:
 Step 1: Cut a piece of paper the width of the toilet paper roll. Then, glue or tape the paper. You can also use markers or crayons to decorate the roll if you choose not to wrap it with paper.
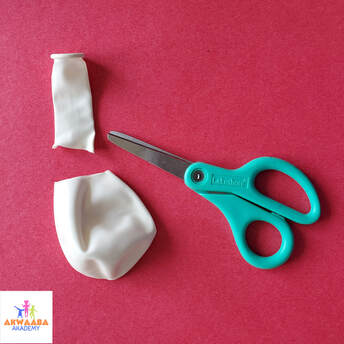
Step 2: Cut off the top half of the balloon and place it on one end of the toilet paper roll.
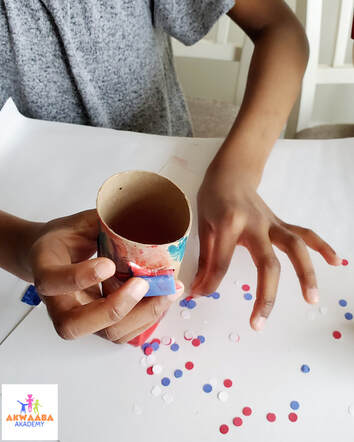
Step 3: Place a piece of tape around the balloon to secure it. 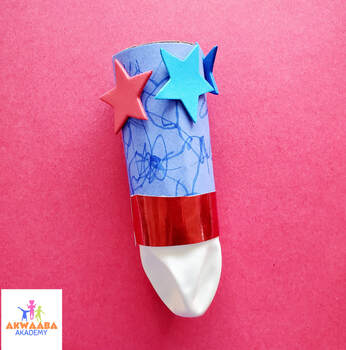 Step 4: Use your hole puncher to punch holes into the red, white, and blue paper. I like to do all 3 at once to save time. If you do not have a hole puncher, you can simply ask your child to cut or tear small pieces of paper. Regardless of which method you use to get the small pieces of paper, they are all targeting fine motor skills. 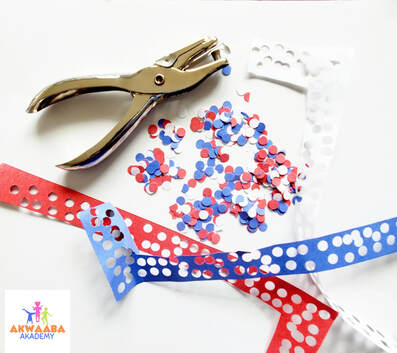 Step 5: Place all the paper pieces into the toilet paper roll.
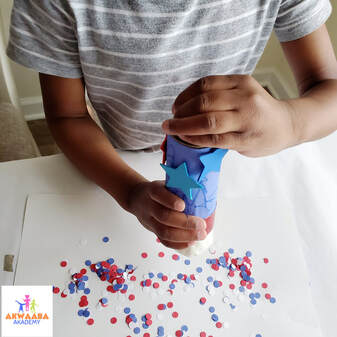
 Step 6: Your confetti popper is ready for use. Pinch the bottom of the balloon, pull it down as far as it will allow you and release. The kids will love this step! Now that you have learned how to make a fun and safe Independence Day fireworks experience for your child, share this post so others can get in on the fun. If you’re on Instagram, tag us with your photos.
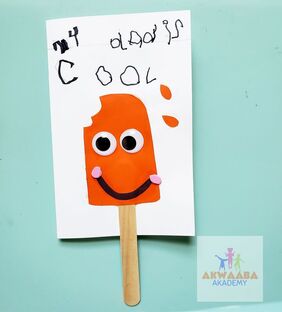
That time of year to celebrate Dad is quickly approaching. I searched Pinterest for Father's Day crafts and came across too many to share. My search was narrowed down to 10 crafts that range from toddlers to older children of which I chose two crafts to do with my children and slightly modified each. You are always free to modify these crafts based on your children's abilities. This cute Coolest Dad card was inspired by a craft I found on Pinterest. I modified it a bit and allowed my 3 year old to write the words. I wrote the words on a separate paper, had him copy it onto his card with a pencil. Last, he traced the pencil letters with a marker.
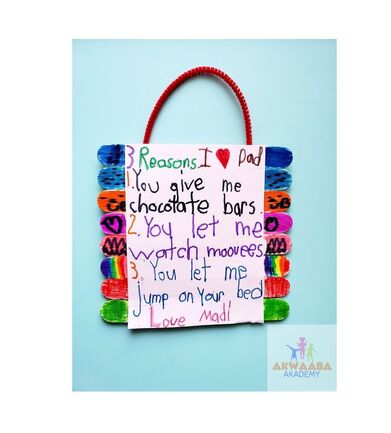
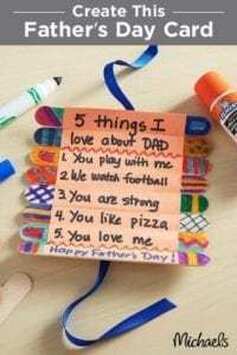
This craft was inspired by Michael's craft store. My daughter who is 6 years old wanted to shorten the reasons why she loves her dad. I'm sure there are a thousand more reasons, but due to time constraints, we'll settle for 3 reasons. You may or may not have noticed something odd about the second sentence. You see, she is ending kindergarten in two weeks. All school year she was encourage to use her knowledge of letter sounds to spell words. Some words may come out the correct way, and others, well, they'll look like her version of the word 'movie'. In early childhood grades, phonetic spelling is totally encouraged, and I absolutely love it!
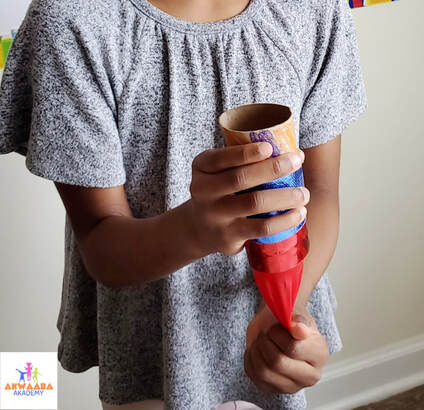
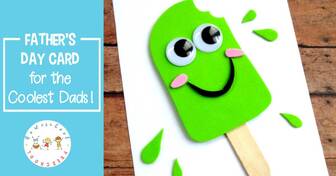
Here are some other crafts you may be interested in: This cute I Love Dad Thumb Print craft is great for toddlers and preschoolers especially because they get to tap into a little sensory while crafting. 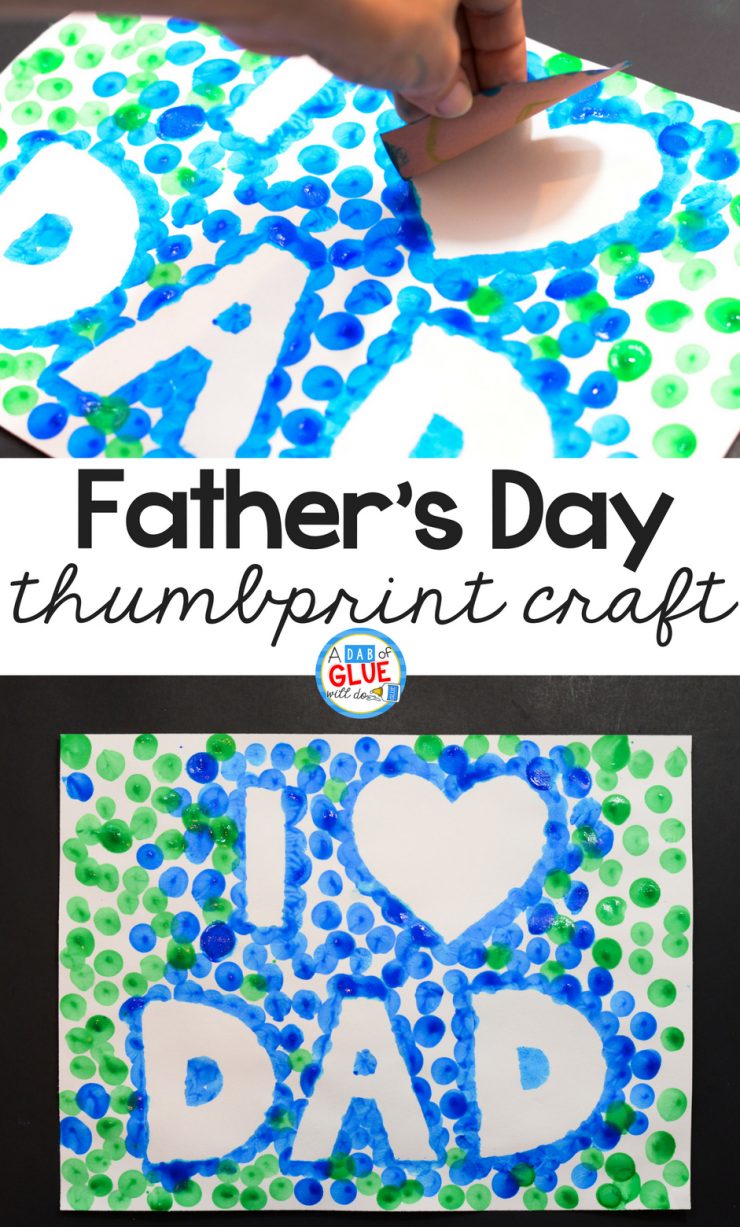 Here is a Fin-Tastic Card that Dad is sure to love. It's super easy for toddlers and preschoolers, and also provides an opportunity for sensory time as those little fingers dip into the paint. 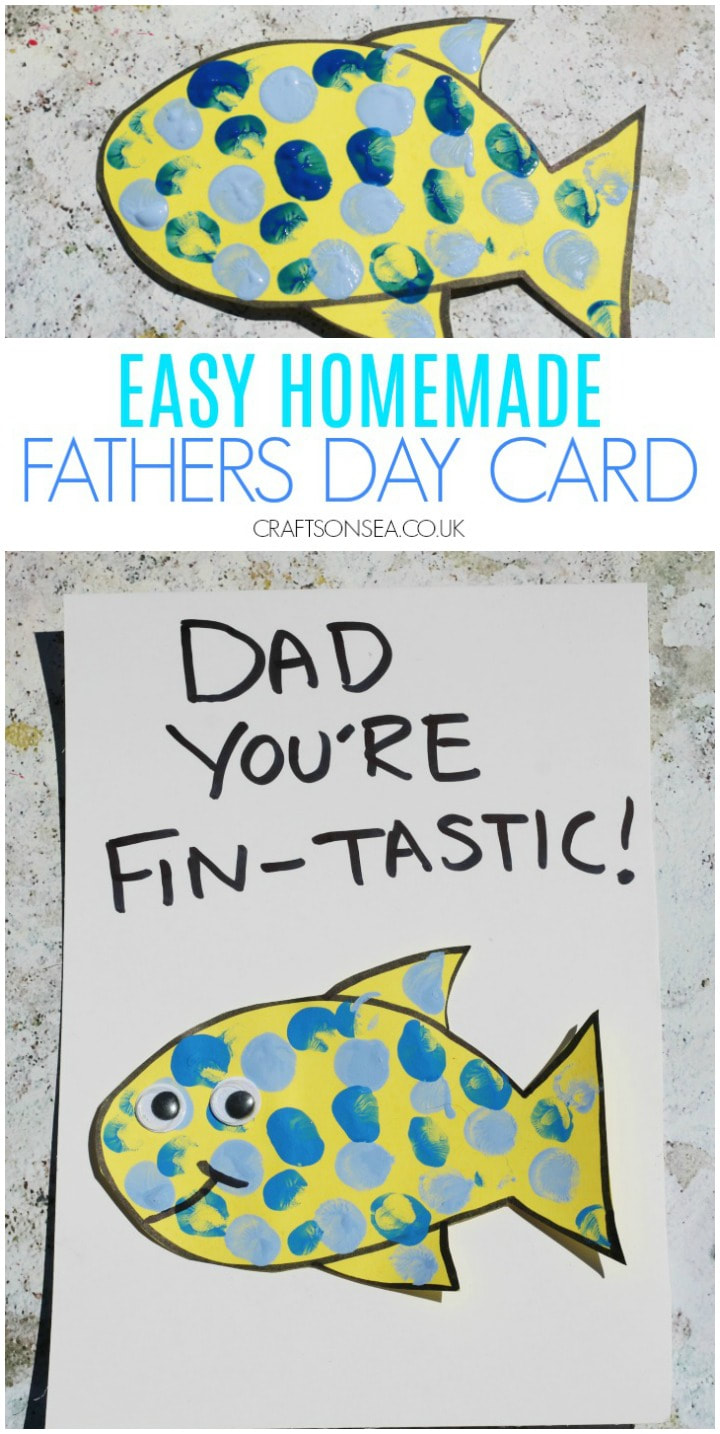 If your children enjoy a game of baseball with Dad, then this is the perfect craft for you. 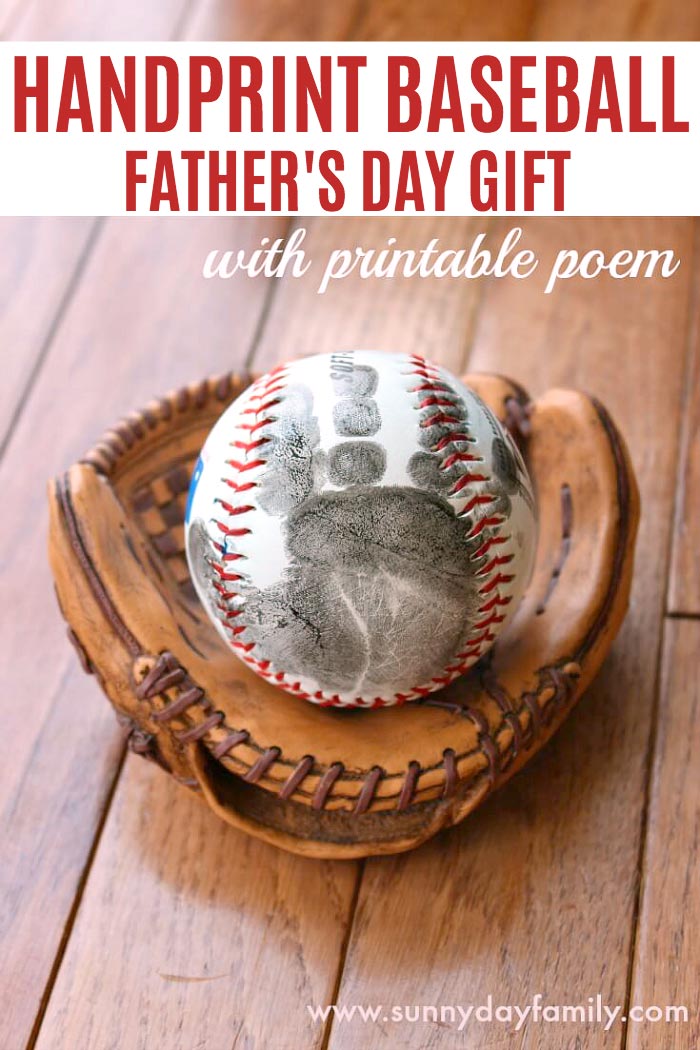 This adorable rocket ship craft is super easy for toddlers, preschoolers, and kids of all ages. 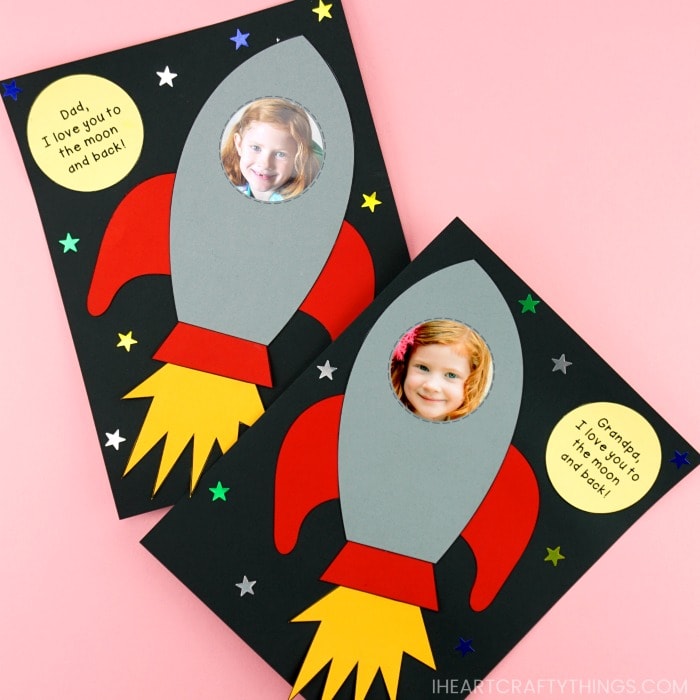 I'm sure Dad doesn't have to Guess Whooo Loves him, but this is a super cute Father's Day card. 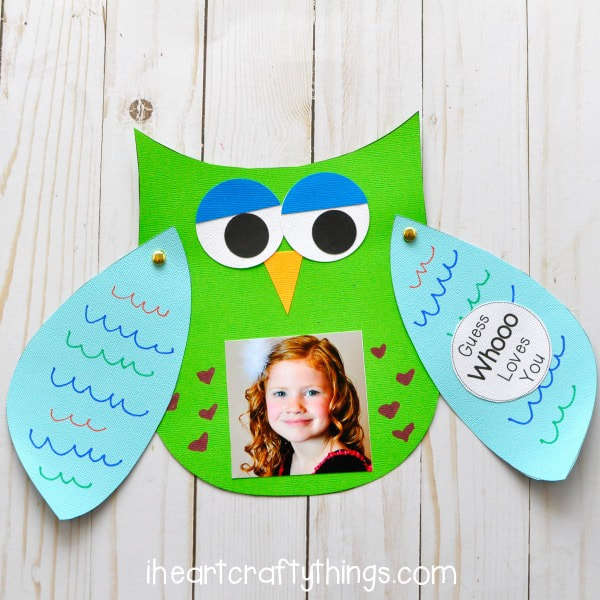 What's Father's Day without a new Shirt and Tie? Okay, it's paper, but it's still cute! 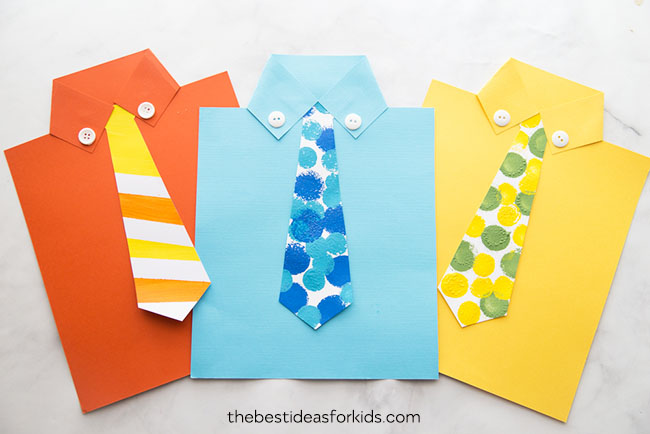 Sometimes buying a Father's Day gift for Dad can be hard. This Building Memories With Dad is a great idea to get children thinking about all the wonderful memories they've had with Dad. 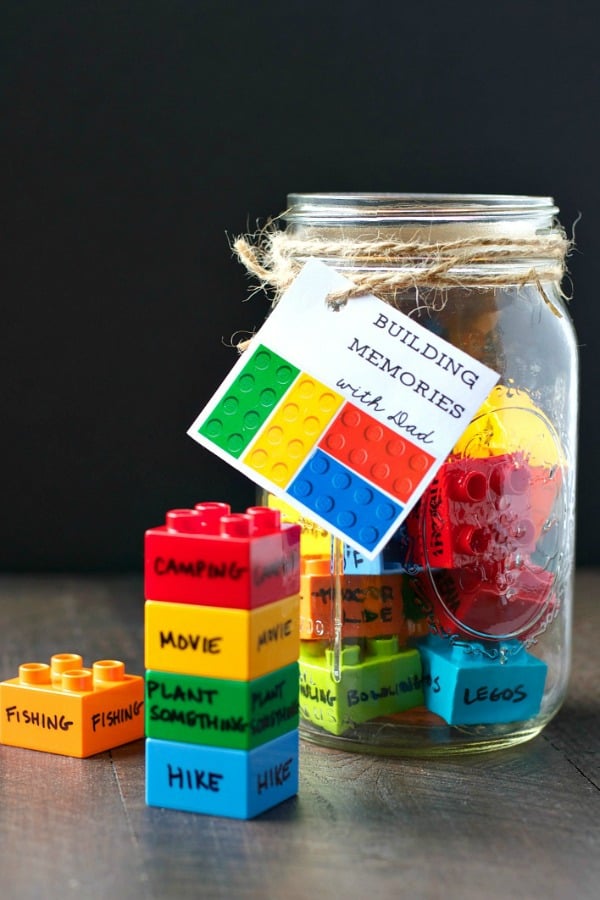 Here’s a really simple one, which dad can put on his office desk or bed side table: ‘My Dad Rocks’ Father’s Day Craft. 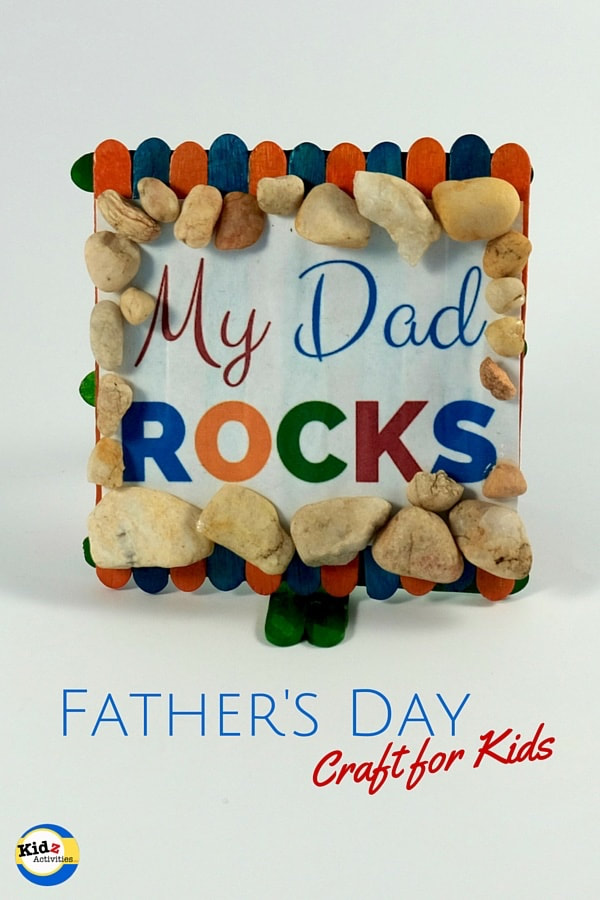 |
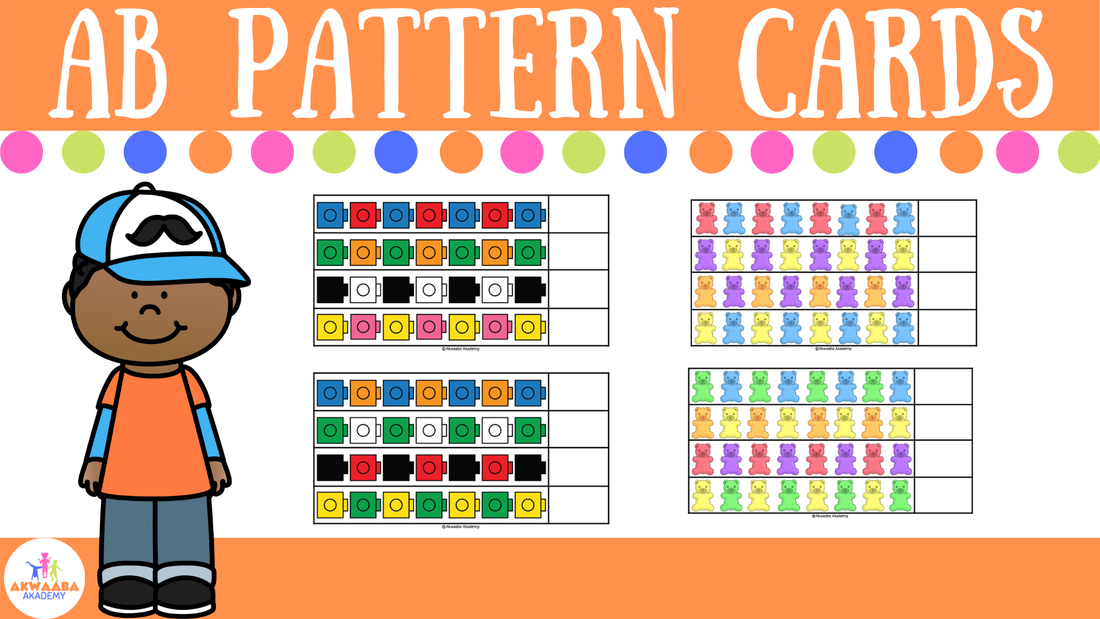
Akwaaba!Hi, I am Odessa. I'm a mom of two wonderful children and a teacher. I have a Bachelor of Arts in Early Childhood Education and a Master of Science in Childhood Education with over 10 years of PreK and Kindergarten experience. I am a lover of all things literacy for children and their curiosity of the world. Get comfy and click around my site. I hope you find something you'll like, and something your kids will love! P.S. Akwaaba means 'welcome' :) Join our email list to receive newsletter updates and these FREE pattern cards.
Archives
July 2021
Categories |


 RSS Feed
Proudly powered by Weebly